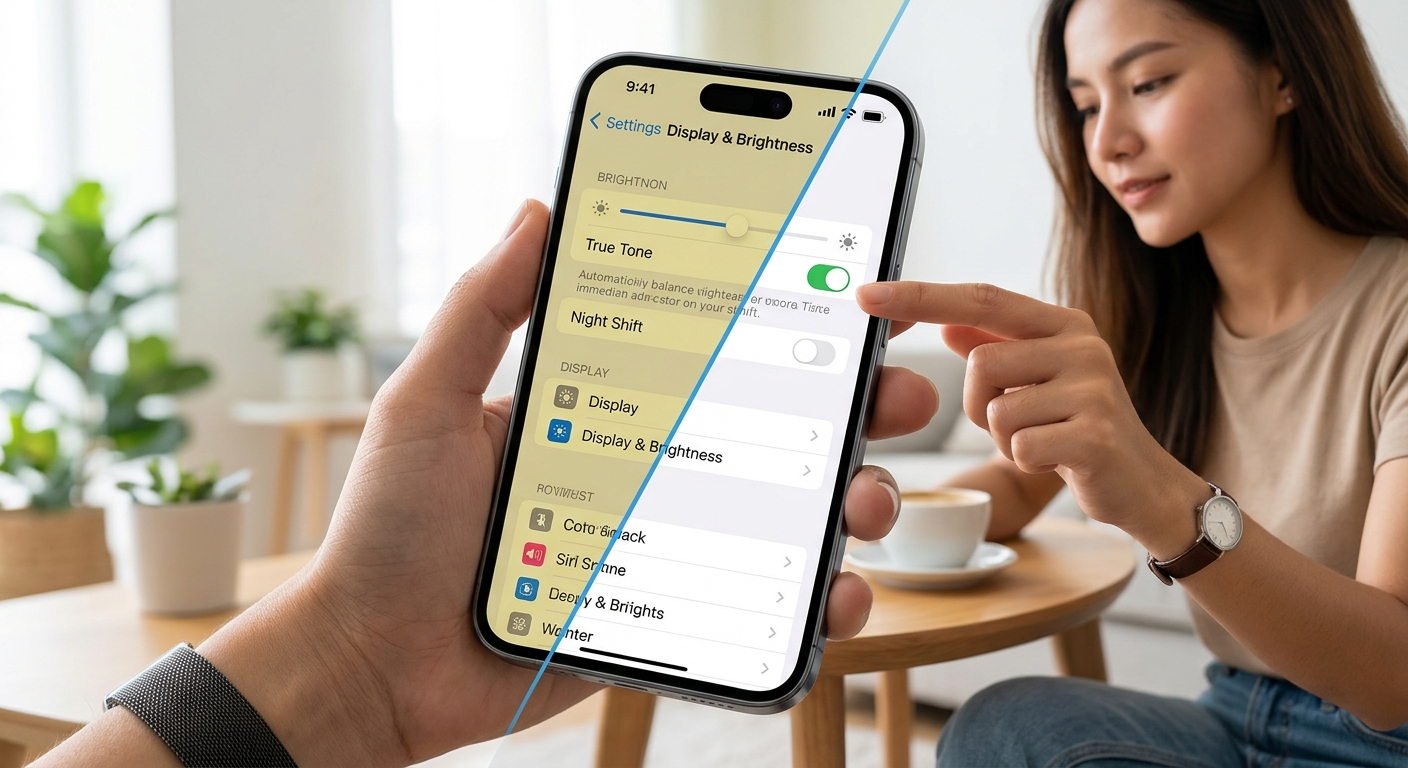
Your iPhone screen suddenly looks yellow, and now every white background seems a little dirty. Perhaps one corner looks warmer than the rest. You adjust the brightness, open another app, and start wondering whether the display is failing. That frustration makes sense, especially when the phone looked fine yesterday.
A warm display can come from a setting that changes screen colors automatically. A patch that stays in the same place deserves closer attention. Work through the checks below one at a time. You will get a clearer idea of what is changing the picture and whether the screen needs professional inspection.
Three Checks Before You Worry
- Turn off automatic color adjustments before judging the screen.
- Compare the display at a steady, comfortable brightness.
- Arrange an inspection if a fixed patch remains across apps.
1. Turn Off Night Shift to Check the Yellow Tint
Night Shift is a common reason an iPhone looks warmer in the evening. It shifts display colors toward the warmer end of the spectrum. White backgrounds can look cream or yellow while it is active.
Open Settings > Display & Brightness > Night Shift. Turn off Scheduled for this check. If Manually Enable Until Tomorrow is active, turn that off too. Return to a familiar screen with a white background and look for a change.
If the yellow cast disappears, check the schedule before leaving this menu. A scheduled start time can explain why the phone looks normal during lunch and yellow later. You can keep Night Shift off, change its hours, or move its color temperature slider toward the cooler end when using it.
Night Shift generally changes the appearance of the whole display. A small yellow area that stays in one corner is less consistent with this setting alone.
2. Disable True Tone Under Steady Lighting
True Tone adjusts the display in response to surrounding light on supported iPhones. This can make the screen look warmer under certain indoor lighting. The change may be noticeable when you move between rooms.
Go to Settings > Display & Brightness and turn off True Tone. Stay in the same room while you compare the result. Changing the lighting and the setting at the same time makes the difference harder to judge.
The official guidance on display adjustments explains how True Tone and Night Shift affect screen appearance. These controls are useful starting points when the entire screen looks warmer than expected.
Give your eyes a little time to adjust after turning True Tone off. The display may initially seem unusually blue because you were used to its warmer appearance. Aim for comfortable, consistent viewing instead of trying to match another phone exactly.
If you cannot find True Tone, continue with the remaining checks. Its availability depends on the device, and some display accessibility settings can affect these options.
3. Check Color Filters for an Unwanted Tint
Color Filters can change how colors appear across the screen. They help users with specific visual needs, but an unintended filter can make an otherwise working display look wrong.
Open Settings > Accessibility > Display & Text Size > Color Filters. Check whether the main switch is enabled. If you do not need the filter, turn it off temporarily and compare the screen again.
Pay attention to Color Tint if it is selected. Its hue and intensity controls can produce a noticeable color cast. Avoid adjusting those sliders to cancel out one isolated yellow patch. That changes the whole picture and can make the rest of the screen look unnatural.
If you rely on Color Filters for accessibility, note your settings before changing them. Restore the combination that supports your vision after testing. A troubleshooting check should not leave your phone harder to read.
If a filter keeps returning unexpectedly, look under Settings > Accessibility > Accessibility Shortcut. Check whether Color Filters is assigned to the side button or Home button shortcut.
4. Compare a Plain White Background Before and After
Photos and colorful apps can hide subtle differences across a display. Open a white screen test to compare the screen before and after each adjustment. Keep the room lighting steady and use a comfortable brightness.
Look at the phone straight on. Check whether the entire surface looks warm or whether one area has a different shade. Then return to a normal app with a light background. A useful comparison should reflect what you see during everyday use too.
A plain background is a viewing aid. It cannot diagnose panel damage, measure color accuracy, or confirm that a repair is necessary. Persistent discoloration may need professional inspection, especially when the same patch appears across several apps.
Do not leave the display at maximum brightness for a prolonged inspection. A brief comparison is enough to note the location and appearance of the issue.
5. Set a Consistent Brightness for the Comparison
Brightness can affect how obvious uneven shading looks. A screen that appears acceptable at a moderate level may reveal more variation when it is very dim. Test at the brightness you normally use before deciding how disruptive the problem is.
Open Settings > Display & Brightness. Move the brightness slider to roughly the middle, then adjust it for comfort. Look again at the same background without changing rooms or tilting the phone.
For a steadier comparison, temporarily disable Auto-Brightness under Settings > Accessibility > Display & Text Size. Return it to your preferred setting after testing. This prevents automatic brightness changes from confusing the comparison.
Check Reduce White Point in that menu as well. It reduces the intensity of bright colors and may explain why whites look subdued. Temporarily turning it off can help you judge the screen, although the brighter result may feel uncomfortable if you normally depend on it.
Brightness adjustments will not repair a damaged display. Their purpose here is to establish consistent viewing conditions and separate dimness from a color problem.
6. Rule Out Reflections, Accessories, and One App
A warm lamp reflecting off the glass can resemble discoloration. Move to a room with neutral, indirect light. Avoid judging the display in direct sunlight or under a strongly colored lamp.
Check the glass with the screen off. Fingerprints, residue, and an aging screen protector can affect how it looks. Clean the surface gently with a soft, lint-free cloth. Follow the accessory maker’s guidance if the protector appears cloudy, tinted, or damaged.
A privacy protector can also change the view as you tilt the phone. Compare the screen straight on before blaming the panel. You do not need to remove an intact protector immediately, but note whether the problem started after installing it.
Open Settings, Notes with a light background, and another familiar app. If the tint appears in only one app, check that app’s theme or reading settings. A persistent patch across different screens points toward a broader display issue.
7. Restart Before Trying More Disruptive Changes
Restart your iPhone after checking the settings. Turn it off through Settings > General > Shut Down, then turn it back on with the side button after shutdown finishes.
Repeat the comparison under the same lighting. A restart may clear a temporary software problem, but it cannot fix physical discoloration.
If an iOS update is available under Settings > General > Software Update, back up your phone before installing it. Updating is reasonable when you also notice software glitches. Avoid treating an update as a promised cure for a fixed yellow patch.
A factory reset is not a useful first response to an isolated display stain. Finish the visual checks and seek an assessment before erasing your phone.
Recognize When the Screen Needs Inspection
You do not have to identify the exact damaged component before asking for help. Focus on what you can observe and explain. Arrange an inspection if you notice any of these signs:
- A yellow, brown, or dark patch stays in the same location across apps.
- The discoloration appeared after a drop, liquid exposure, or screen repair.
- The affected area grows or appears alongside flickering, lines, or touch problems.
- The display is lifting away from the frame or the phone appears swollen.
If the screen is lifting or the device appears swollen, stop using and charging it. Do not press the display back into place. Arrange professional service.
For other persistent symptoms, back up your data and contact Apple or an authorized service provider. Explain when the issue began and which checks you completed. Mention any recent repair, impact, or liquid exposure. This gives the technician useful context without guessing at the cause.
Get Back to a Screen You Can Trust
Start with Night Shift, True Tone, and Color Filters. Then compare the display at a steady brightness under consistent lighting. Change one setting at a time so you can tell which adjustment helped.
If the whole screen returns to a comfortable appearance, restore any accessibility features you need and choose the color settings you prefer. If a patch remains fixed across apps, an inspection is the sensible next step. You have already done the useful checks at home and can describe the problem clearly.